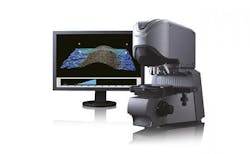
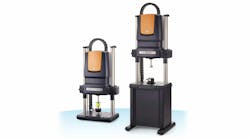
VK-X Series 3D Laser Scanning Confocal Microscope provides non-contact, nanometer-level profile, roughness, and film thickness data on any material, and indicates which metrics are most critical for evaluation.
When using a roughness meter or contact profiler to measure a surface, there is a risk of damaging the surface of the object, particularly if the material is soft. Additionally, it is impossible to accurately measure any changes in the surface that are smaller than the tip of the stylus.
Since laser microscopes perform non-contact scanning of a surface, there is no damage done to even soft objects. Also, with a laser beam diameter that is significantly smaller than a stylus tip, these systems can collect much more accurate data of the surface.
Besides the scanning process, laser microscopes also make it much easier to actually measure. Instead of having to place the stylus in the proper location to collect data, laser microscopes can quickly scan an entire area and measurements can be done at any location on the screen.
The VK-X Series employs an industry-leading 16-bit photomultiplier (PMT) as its light receiving element.
This high-resolution PMT is able to capture incredibly accurate surface data even on steep angles or complex shapes. While typical laser-based systems struggle at low magnifications, the VK-X Series easily collects data over a wide area or on materials with large changes in contrast.
